Photo Booth Lighting: What to Use and How to Kill Glare on Glasses
Lighting is the single biggest thing that separates an amateur iPad booth from a professional one. Most people think the ring light built into the booth is enough. It is not, and on most booths it will not cut it on its own. Here is the exact setup I use, and how I get rid of the glare on glasses that ruins so many booth photos.
Your ring light is for effect, not for lighting faces
The ring light on your booth should not be your main light source. Here is how I actually use mine: I turn it to a fun color mode (the one I use cycles through a bunch of colors) and I keep it turned way down. It is not there to light anyone up, it is just there for a little glow and effect. The real lighting comes from somewhere else.
Some links below are affiliate links. As an Amazon Associate we earn from qualifying purchases, at no extra cost to you.
The real key: two lights beside the booth
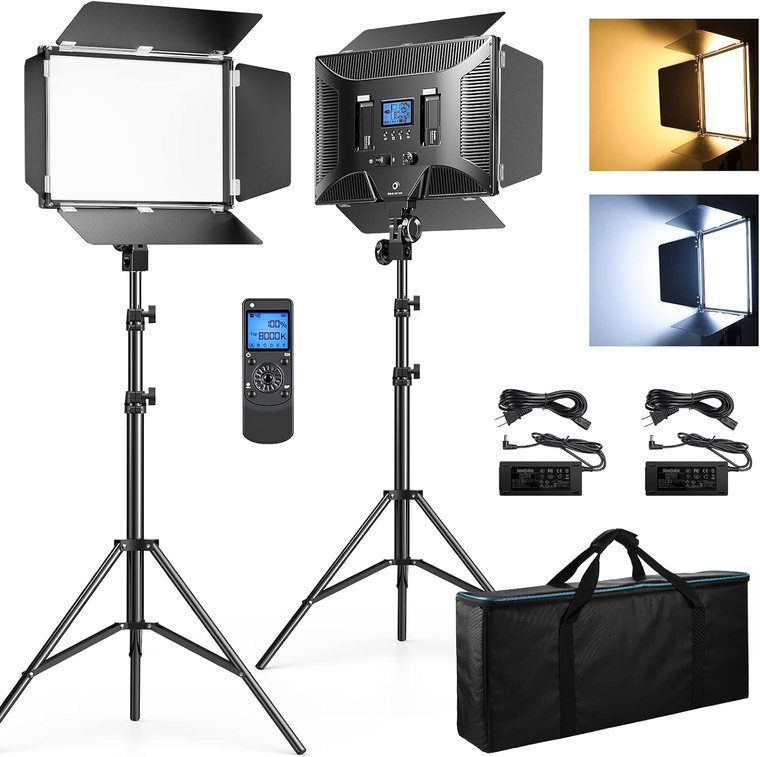
The setup that makes faces look bright, even, and professional is two proper LED lights, one on each side of the booth. This is the difference maker, and these are the exact lights I use and recommend (the same pair from my gear guide). Two things make them perfect for events:
- They run on battery or plug-in. That is huge, because plenty of venues do not have an outlet where you set up. A fully charged 8,000 mAh battery gets me about 3 hours, which covers most events.
- They come with a wireless remote. When I am attending the booth, I keep the remote in my hand and hold the lights dimmed down so guests are not blinded the whole time. Right when we take the photo I bump the brightness up, then bring it back down. Guests stay comfortable and every shot is still lit perfectly.
One more reason the two lights beat a ring light on its own: shadows. A ring light by itself tends to cast shadows onto your backdrop. The two side lights fill out the back and even everything out, so your backdrop reads clean instead of shadowy.
 Check it out →
The batteries that power them
The lights plug into an outlet, so batteries are optional. Add them only if you set up where there is no power nearby.
How to get rid of glare on glasses
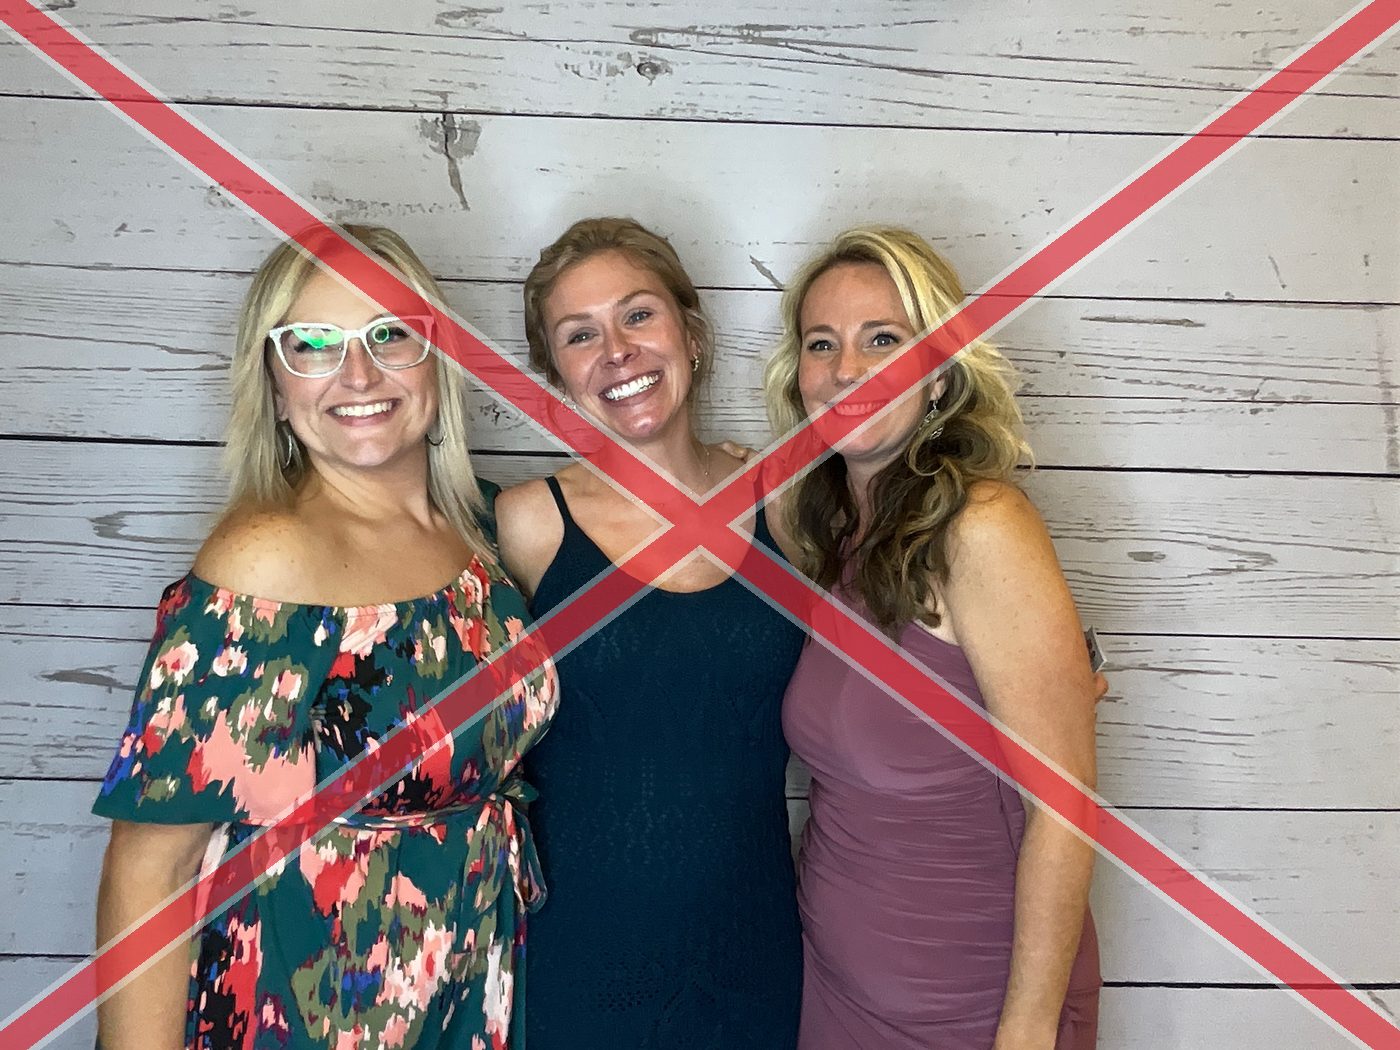
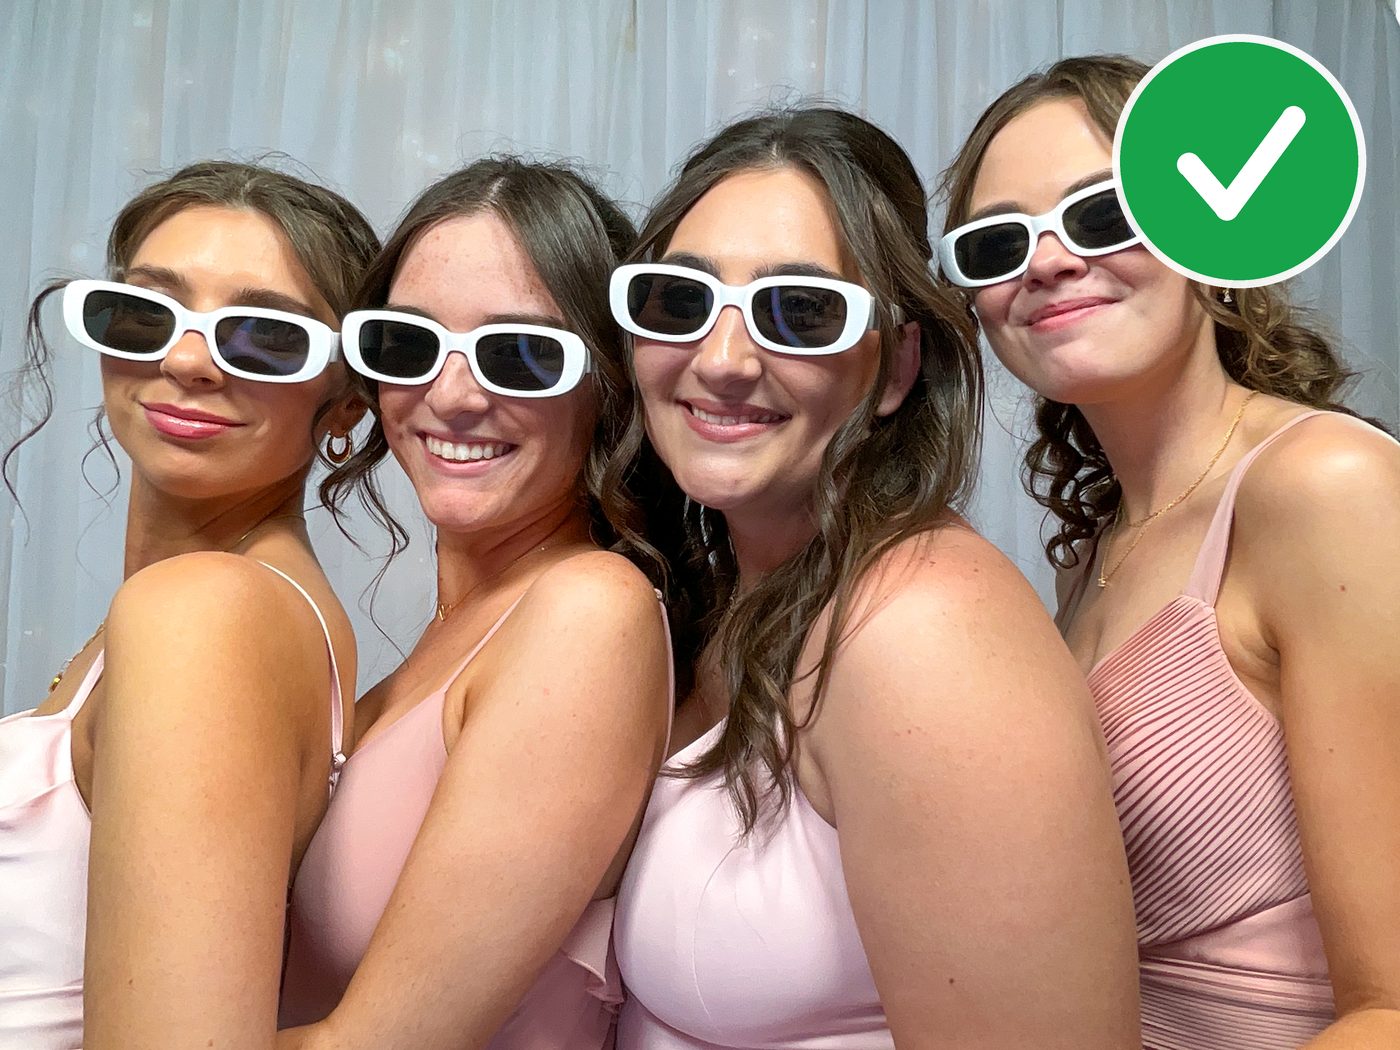
This is the one that trips everyone up, and the trick is height. Get your lights up high enough that when a guest looks at the booth, the lights sit above their eye line and are not reflecting straight into their eyes or glasses, real glasses or prop glasses.
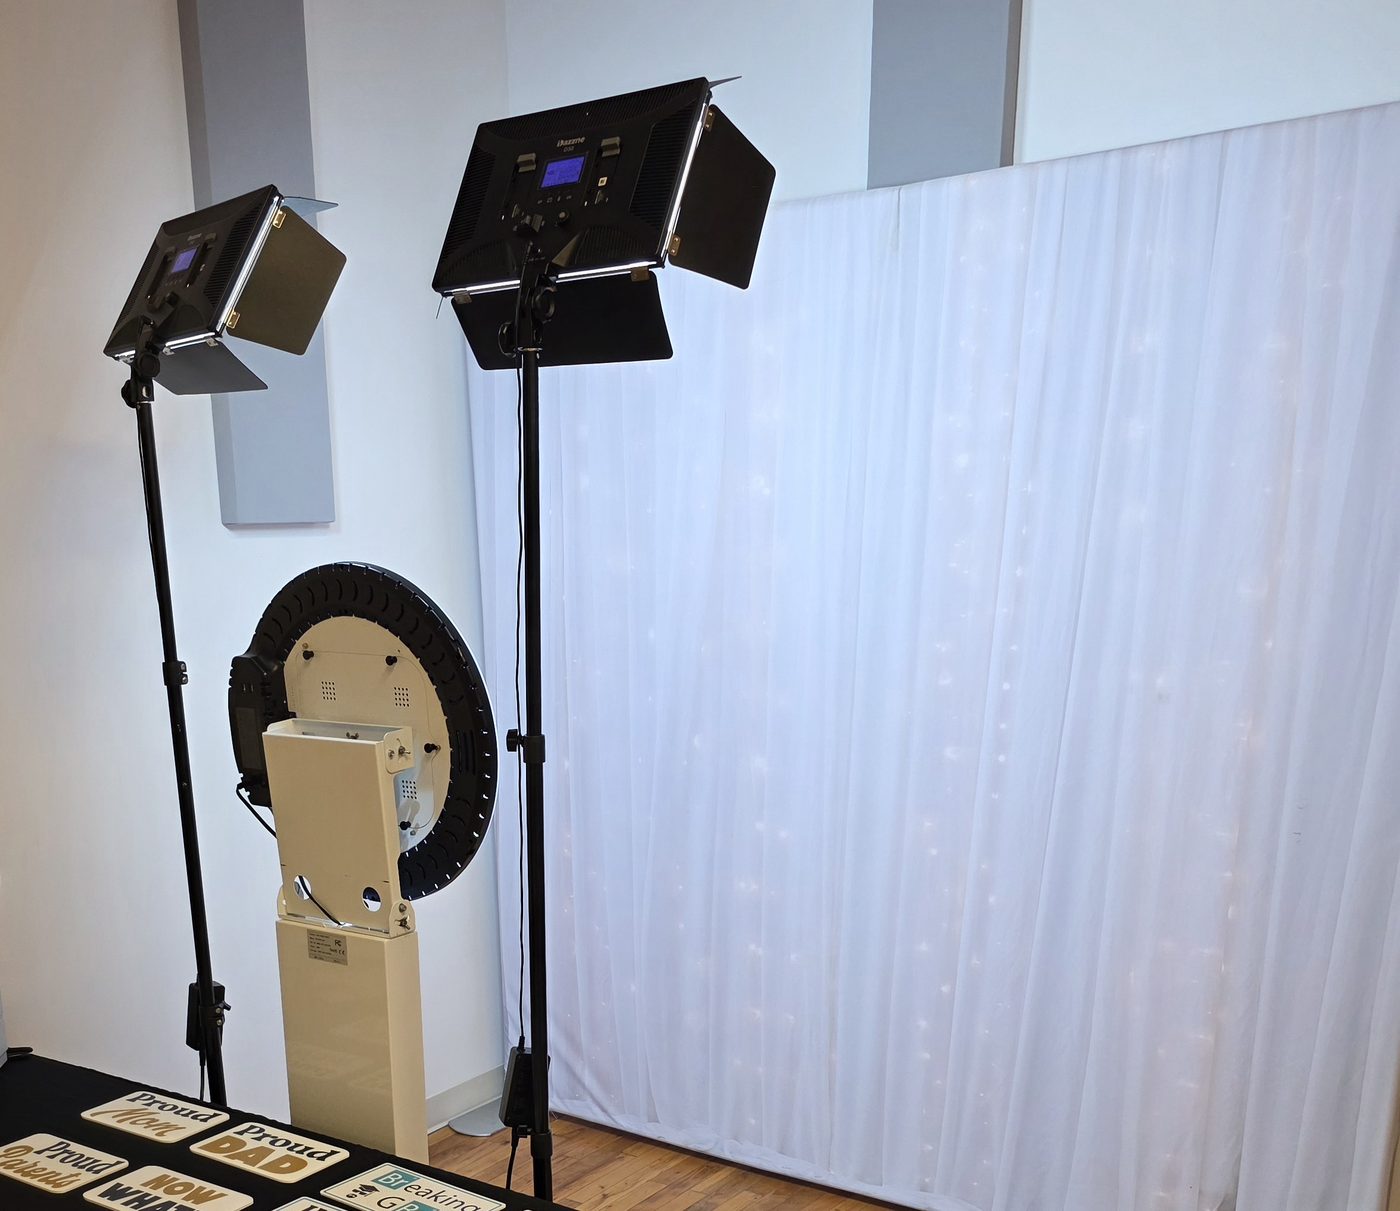
My setup: the two D50 lights up high on stands, well above the booth and everyone's eye line. That height is what keeps the glare off glasses.
A few things I have learned:
- Raise the lights until the reflection disappears. That height is your sweet spot.
- For some guests with glasses, I will just flip the ring light off completely for that photo.
- Every setup is different, so you have to play with the height and angle. There is no single magic number, but once you dial it in for your booth, you are set.
One honest heads-up: this will not kill glare 100 percent of the time. Depending on how a guest is looking, if their head is tilted up a little and they are not looking straight at the booth, the angle can still catch some reflection in their glasses. But getting the lights up high like this reduced it dramatically for me, and it is the single biggest thing you can do about it.
What I started with, and why I moved on
When I first started I used stick lights. They worked well enough in the beginning and they are a fine way to get going. The problem was I could never get them high enough to clear the glare off people's glasses and prop glasses. That is why I moved to the taller two-light setup above. If you are on a tight budget, stick lights will get you started, but plan to upgrade.
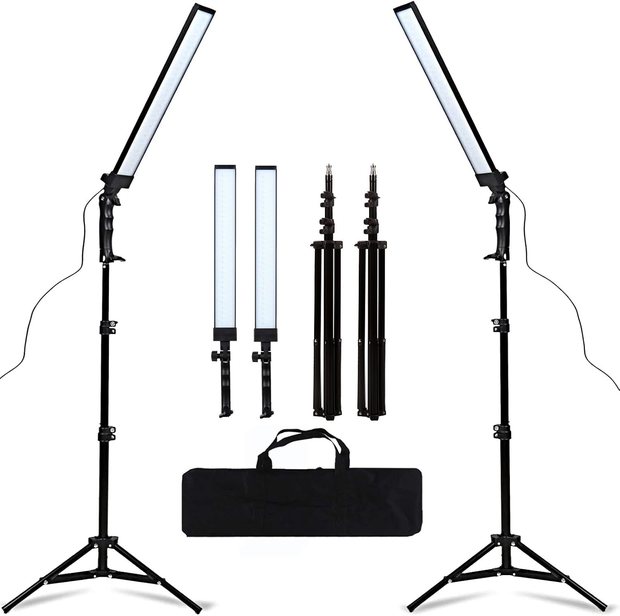
The stick lights I started with. A solid budget option to get going. See them on Amazon.
Gear we recommend
Our pickDazzne D50 LightsThe two side lightsSee on Amazon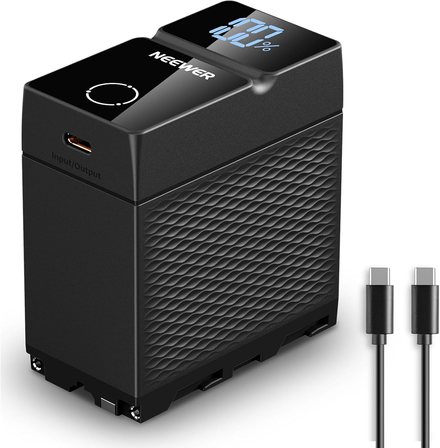 BatteriesNP-F970 BatteriesHigher mAh, longer runtimeSee on Amazon
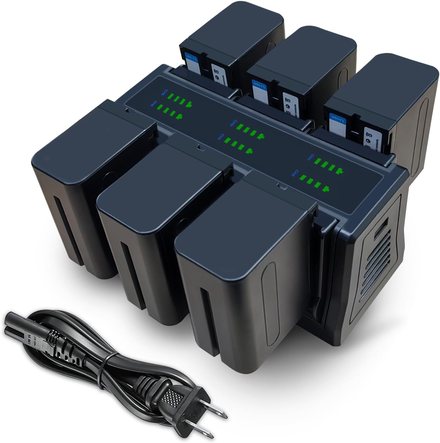 Batteries + charger6-Pack + ChargerBulk with charging bankSee on AmazonBudget starterStick LightsA cheaper way to startSee on Amazon
Get two real lights up high, keep the ring light low just for effect, and control it all with the remote. Nail your lighting and two things happen: your photos look incredible, and glare on glasses stops being a problem.